Using Flashers and Burley to Attract Fish: A Spearfishing Guide
Introduction
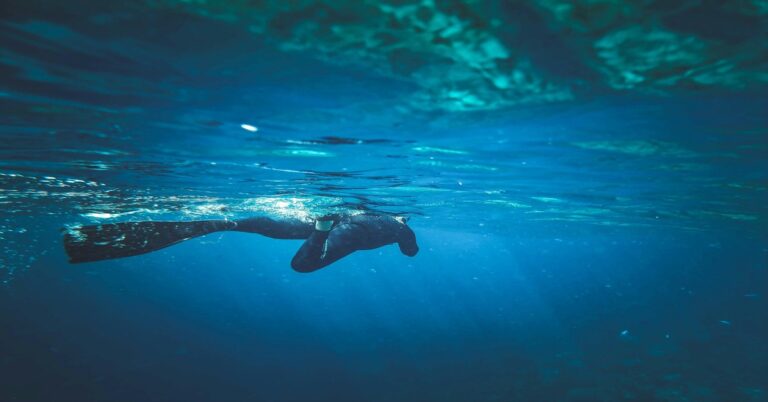
If you’ve done much spearfishing, you know the feeling—watching a school of fish cruise by without a second look. That’s where spearfishing flashers and burley come in. Not magic, but they can turn a slow explore a productive one when used right. This guide covers how flashers and burley work, when to use them, and how to combine them effectively without wasting time or money. Success comes down to understanding fish behavior and adjusting to local conditions, not just throwing gear in the water.
Flashers felt like cheating the first time I used them. Now I never leave the boat without one.
I’ve spent plenty of days testing different rigs and chum mixes. Some worked well. Others taught me what not to do. Below is the practical breakdown I wish I had when I started.

What Are Flashers and Burley?
Flashers are reflective lures or devices that mimic the flash of baitfish. They can be as simple as a single hook with a shiny spoon or as complex as a multi-rig daisy chain of small plastic fish. The idea is to catch light and create movement that triggers a feeding response in predator fish. Flashers rely on visual stimulation. They work best in clear water where fish can see that flash from a distance.
Burley is ground bait or chum—fresh fish scraps, commercial chum blocks, or a DIY mix of fish oil, sand, and oats. Burley works through scent and particle dispersion. It creates a trail in the water that fish can follow back to its source. Unlike flashers, burley doesn’t need clear water to be effective. It’s a scent-based attractant that draws fish in once they’re in the area.
They complement each other well. Flashers get attention. Burley holds it.
Why Use Both Together?
Using flashers and burley together is where the real effectiveness shows. On their own, flashers can pull fish in from a distance but won’t keep them in one spot. Fish might circle, get curious, then leave when they don’t find anything to eat. Burley, on the other hand, holds fish in an area once they’re nearby, but it’s slow to attract fish from far away, especially in open water.
I’ve had this happen more times than I can count. Set up near a reef with just a flasher, watch a school of kingfish swim in, look at the flasher, then keep moving. The moment I started deploying burley—just a handful of crushed pilchards—they turned and stayed. The flasher caught their attention. The burley kept them within range long enough for a shot.
For pelagic species like tuna, kingfish, and mahi-mahi, this combination is especially effective. The flasher works like a dinner bell ringing from a distance. The burley smells like the kitchen actually opened. If you’re serious about targeting fast-moving pelagics, you want both tools in your kit. Travelers looking for ready-made solutions can consider a compact flasher lure set designed for saltwater use.
Types of Flashers for Spearfishing
Not all flashers are the same. Choosing the right design depends on target species and water conditions. Here are the three most common types I’ve used and seen work consistently.
Daisy chains are strings of small, reflective plastic or metal lures spaced along a leader. They simulate a school of small baitfish. I’ve found daisy chains most effective for tuna and wahoo. The multiple reflections look natural in clear water. I space them about 6 to 8 inches apart on a 4-foot leader. Lighter models work better in clear water. Brighter or metallic ones help in lower visibility.
Spoon-type flashers are larger, single or double lures that catch light and wobble as they move through the water. They’re simpler and faster to deploy. I use them when I want something less bulky or when diving in moderate current where daisy chains can twist. Spoons work well for yellowtail and smaller pelagics.
Umbrella rigs create a larger profile. They have multiple arms that spread out, each holding a lure. More aggressive attractors. I typically use umbrella rigs for deep-water hunts or when targeting large kingfish. They come with a trade-off: heavier, require more line tension, and can spook fish if not rigged properly.
Here’s a practical rule: if the water is clear and calm, go with a lighter, more subtle flasher. If it’s murky or choppy, brighter and bulkier designs stand out better. Always test your rig in shallow water before a dive to see how it moves.
Choosing the Right Burley
Burley choice comes down to scent dispersal and particle size. You want a mix that releases gradually and creates a steady scent trail without clouding the water completely.
Fresh fish scraps are my go-to when available. Chopped pilchards, mackerel, or tuna scraps release a strong, natural scent that most pelagics recognize. Oil content matters. Oily fish work better than white fish. The downside is they break apart quickly in current.
Commercial chum blocks are convenient. They’re frozen, dense blocks of ground fish parts that break down slowly. I like them for boat-based dives where I can hang a block in a mesh bag and let it melt naturally. They cost more but save prep time.
DIY mixes give you control. I make mine by blending fish oil, sand, rolled oats, and crushed fish bones. The sand adds weight so it sinks faster. The oats slow the breakdown. The fish oil handles scent. Cheap and effective. I freeze the mix in small plastic tubs, giving me ready-to-deploy blocks that release over about 30 minutes.
For calm, shallow water, fine chum works. For deeper or current-rich environments, chunkier mixes with larger particles hold together longer. One mistake I see often is using burley that breaks apart too quickly. You end up with a cloudy mess that fish can’t see through and you can’t hunt in. Slow release is better.

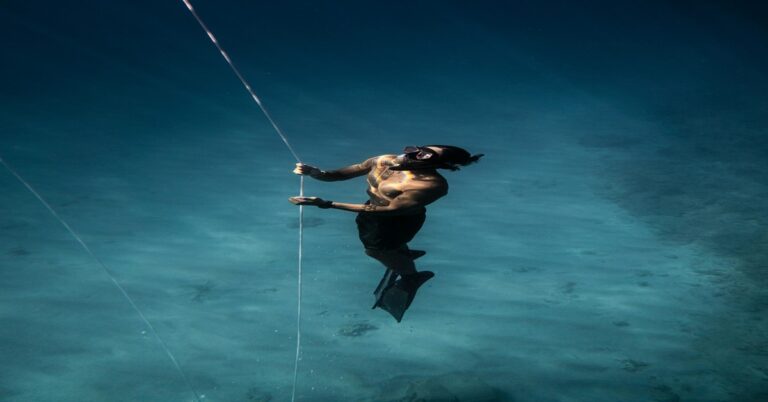
Setting Up Your Flasher Rig
A proper flasher rig needs to be robust but natural in the water. Here’s a setup I’ve refined over a few seasons.
Start with a main line of 80- to 100-pound test monofilament. Tie a heavy-duty swivel at the top to prevent line twist. Below the swivel, attach a length of leader about 4 to 6 feet long. On this leader, place your flasher lures or spoons. I space them using crimps or bead stops so they don’t slide together. The spacing should allow each lure to move independently. If they’re jammed together, they lose the erratic movement that mimics baitfish.
At the bottom of the rig, attach a weight. A 4-ounce to 8-ounce torpedo sinker works depending on current. The weight keeps the rig from drifting sideways and maintains tension. If there’s no tension, the flasher won’t flash properly. Beginners may find it easier to start with a complete flasher rig kit that includes pre-spaced lures and swivels.
The depth of the flasher matters. I aim to have it 5 to 10 feet above the bottom or at the same depth as where I expect fish to be. On a reef, I suspend it mid-water. In open ocean, I let it drift at a depth that matches my hunting depth.
One tip: attach a second swivel just above the weight. This allows the rig to rotate as it drifts without tangling. A poorly rigged flasher—too stiff or too loose—can spook fish instead of attracting them. I’ve watched fish turn away from a flasher spinning wildly instead of wobbling naturally. Keep the movement subtle and erratic, not frantic.
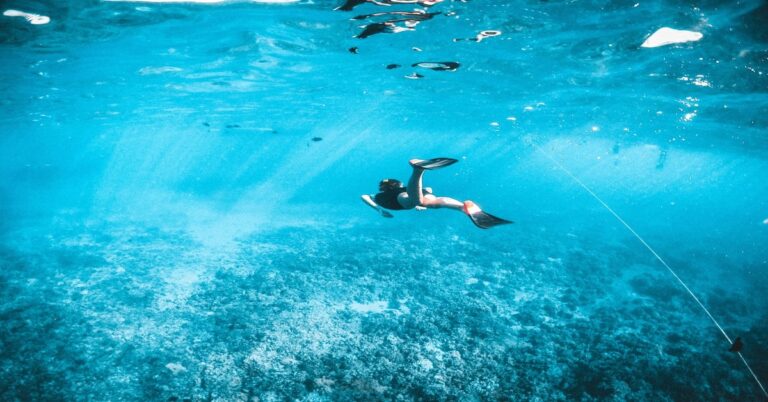
How to Deploy Burley While Spearfishing
Deploying burley while holding a spear and managing a float requires a system. Here are methods that work without overwhelming you.
Mesh bait bag tied to your float is the simplest. Put your burley block or loose chum into the bag, tie it off securely, and clip it to the bottom of your float. It slowly releases as you dive and move. This works perfectly for reef dives where you’re covering a small area. Just be aware that it attracts everything, including bait-stealing species.
Hand deployment works for small amounts. I take a handful of burley in a mesh or cloth pouch attached to my weight belt. When I want to chum, I squeeze a small amount into the water column. This is more controlled and doesn’t waste material. It also lets me target specific spots—near a rock or a drop-off where I plan to wait.
Timing matters. Start burleying 10 to 15 minutes before you start hunting. This gives the scent time to spread. In current, start earlier and deploy up-current from your hunting area. In calm water, release smaller amounts closer to your position.
Don’t over-bait. A common beginner mistake is dumping a large amount at once. This clouds the water, reduces visibility, and attracts too many species at once, including sharks or cudas you might not want around. I’ve had a dive ruined by chumming too heavily. Visibility dropped from 40 feet to 10 in minutes, and we had to move spots. A steady trickle is better than a burst.
For shore dives, I deploy burley near the entry point and let it drift along the shoreline. From a boat, deploy it near known structure or while drifting over a productive area. If you need a dependable bag, a heavy-duty mesh chum bag with a secure closure is worth considering for longer trips.
Best Conditions for Flashers and Burley
Flashers and burley aren’t always the right tools. Knowing when they work saves you from wasting time and gear.
Flashers perform best in clear water with sunlight. The reflective flashes rely on light penetration. On overcast days or in murky water, the flash effect is dulled. I stop using flashers entirely if visibility drops below 15 feet. They become more noise than signal.
Burley works best in moderate current. Current spreads the scent trail, attracting fish from a wider area. In dead-calm water, the scent sits in a circle and can attract predators that hang around too long. In strong current, the burley dissipates too quickly and loses effectiveness.
Pelagic activity is the biggest signal. If you’re not seeing baitfish jumping or birds diving, flashers and burley might not trigger much. They’re attractants, not guarantees. When conditions align—clear water, moderate current, signs of fish life—deploying both together gives you your best chance of bringing something in.
If you’re in murky water or strong current, stick to burley alone. It’s simpler and more reliable. Flashers in those conditions just add complexity.
Common Mistakes to Avoid
I’ve made almost every mistake on this list. Here are the ones that cost the most time and fish.
Using too much burley. A heavy chum slick kills visibility and can attract unwanted attention. Use small amounts and increase only if necessary.
Rigging flashers too stiffly. If the flashers don’t move freely, they look unnatural. I’ve watched a rig with stiff lures get ignored by a school of yellowtail actively feeding nearby. Loosen up the spacing and let the components swing.
Ignoring local regulations. Some areas restrict or prohibit chumming. Always check local spearfishing and fishing regulations before deploying burley. Fines are not worth attracting a few fish.
Deploying in poor conditions. If the water is stirred up or the current is ripping, both flashers and burley lose effectiveness. I’ve spent an hour drifting with a flasher in heavy current and watched zero interest. Moving to a protected cove with calmer water changed everything.
Not adjusting to fish behavior. If fish ignore your flasher, change something. Move it deeper or shallower. Change the speed of your drift. Switch to a different lure design. I’ve had days where a slow-moving spoon outperformed a daisy chain, and days where the opposite was true. Pay attention and adapt.

Recommended Gear for Flashers and Burley
You don’t need to spend a fortune, but quality gear reduces failure in the field. Here are products I’ve used that hold up.
Promar flashers are durable and produce a bright, consistent flash. Their daisy chain models work well for tuna and mahi-mahi. Sea Striker spoon-type flashers are simpler and last multiple seasons with basic care. They’re a good entry point if you’re testing flashers for the first time.
For burley deployment, a mesh chum bag with a strong zipper and clip is essential. The Seaqual Mesh Bait Bag is well-built and holds frozen blocks securely. I also carry a couple of small mesh pouches for hand deployment when I want more control.
A dive float with a clip makes managing the chum bag easy. I use a 20-inch dive float with a stainless steel clip at the bottom. The float keeps the bag suspended just below the surface, releasing scent at the right depth. Frequent users may benefit from a spearfishing float with a built-in clip to streamline setup.
If you’re making DIY burley, a cheap immersion blender from your kitchen works for blending fish scraps and oats. Freeze the mix in silicone muffin trays—they release easily and give you perfectly sized blocks.
Tailoring Your Approach to Target Species
Not all fish respond the same way. Species-specific adjustments make a real difference.
For yellowtail and mackerel, use small flashers—light spoons or compact daisy chains. Fine burley with small particles works best. These species are cautious and prefer subtle movement. I keep the flasher at the same depth as where I see baitfish.
For tuna and wahoo, go bigger. Large daisy chains with bright, reflective lures. Oily chum—tuna oil mixed with crushed mackerel—pulls them in from distance. These fish are aggressive and respond to size and intensity.
Snapper are more scent-driven than flash-driven. They respond primarily to burley. I use a fine chum mix with fish oil and deploy it slowly. Flashers can help but aren’t necessary. If you’re targeting snapper, focus more on burley quality and placement.
Always research local species behavior. What works for pelagics in one region might not work in another. Time on the water and observation will teach you more than any chart can.
Final Tips for Success
Test your flasher rig in shallow water before diving. You’ll see how it moves and can adjust spacing or tension. Saves you from troubleshooting underwater.
Adjust burley release rates based on current. In fast current, use dense blocks in a mesh bag. In calm water, hand-deploy small amounts. Watch how the fish respond and adjust.
Prioritize safety. Check current and visibility before committing to a spot. If conditions change, don’t hesitate to pack up and move. A good dive is a safe dive.
Experience matters more than expensive gear. I’ve seen divers with top-brand flashers get skunked while someone with a homemade daisy chain and a bag of crushed pilchards filled their catch bag. Observation and adjustment beat gear every time.
Ready to try a flasher rig? Check out the gear recommendations above and give it a shot. With practice, you’ll develop a system that works for your local waters.